Help centre / My Work & Jobs
Before & after photos and files
The two photos every job needs, and how to add them.
Under Files & Site Photos each job has a Before folder and an After folder, plus a general area for anything else (drawings, manuals, serial-number shots).
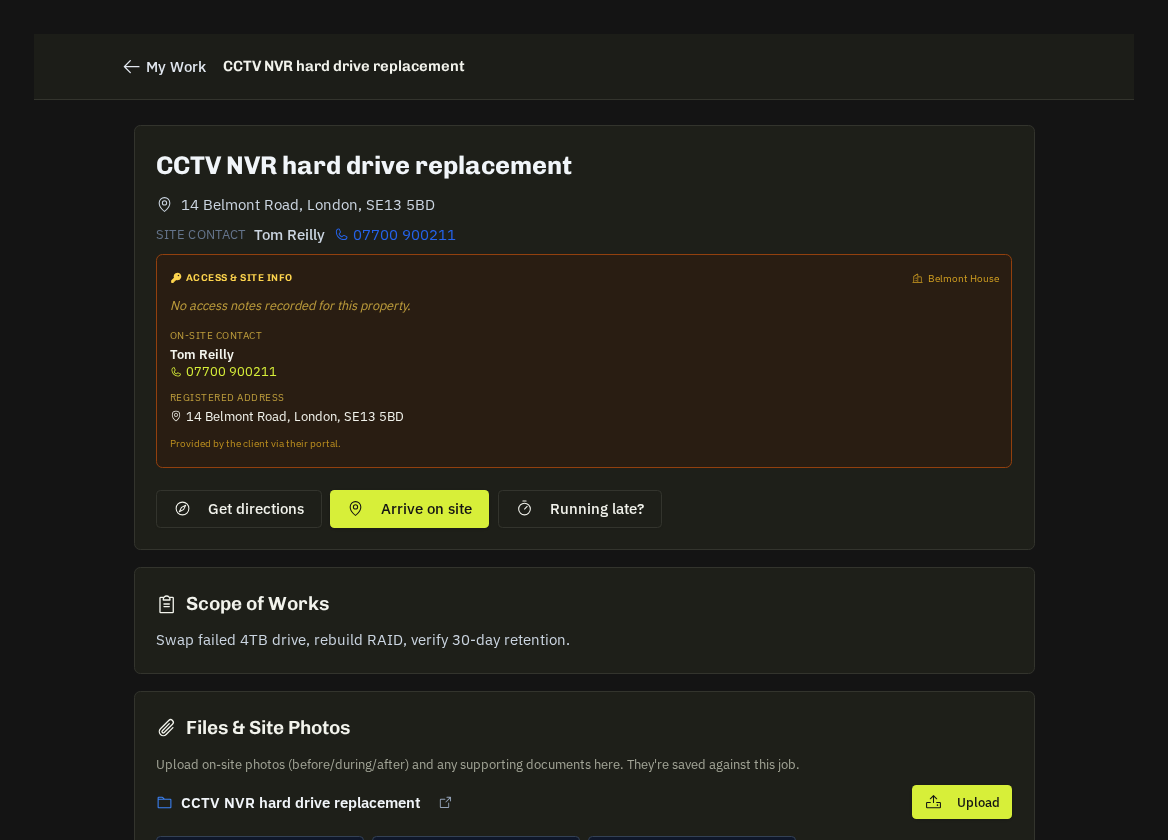
- You need at least one photo in Before and one in After — to complete a job — the Complete dialog reminds you. Take the Before photo the moment you arrive, before touching anything; take After photos of the finished work, any labels fitted and the area left tidy.
Adding photos
Tap the folder, choose camera or gallery, add a caption if useful, upload. Photos are timestamped. The office decides which photos the client sees.
- Why: photos protect you in any dispute ('the tap was already leaking'), speed up sign-off and go on the client's invoice as evidence.
Related: Completing a job